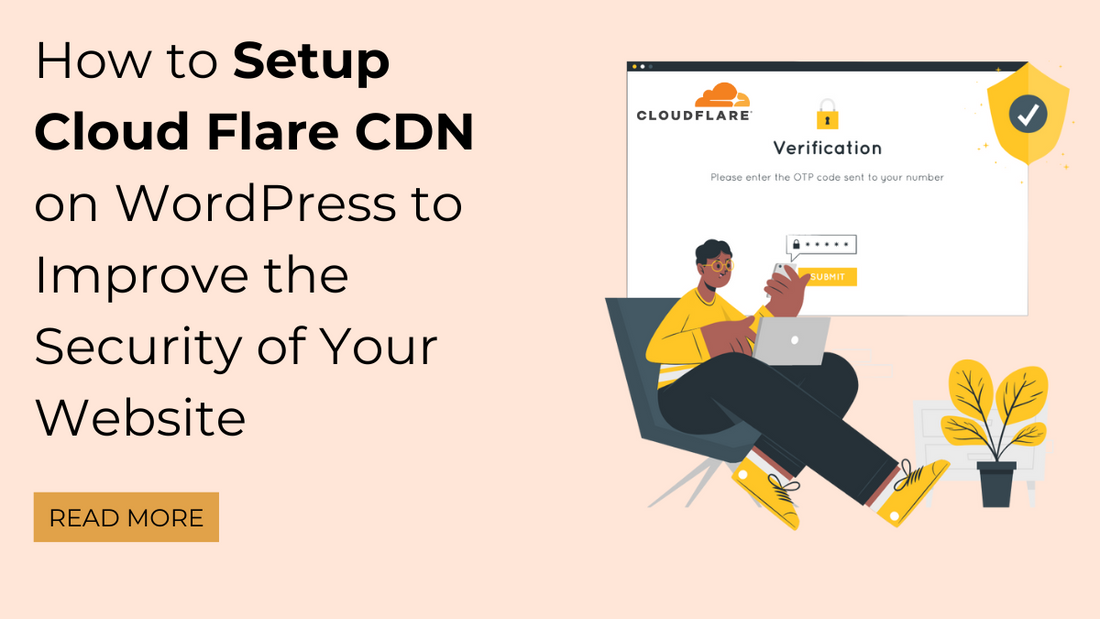
Do you want to setup Cloudflare CDN on your WordPress site? Having a fast loading time for a website is crucial because it improves the user experience and search engine ranking. Fortunately, WordPress is a flexible CMS that allows for various improvements, such as using WordPress speed optimization plugins like Cloudflare.
Here, we will walk you through a complete setup Cloudflare CDN process in WordPress to help you improve your website speed. After following the steps outlined in this tutorial, you will be able to increase the speed and security of your WordPress site using Cloudflare.
What is a CDN?
CDN is known as the content delivery network. It is a system of servers that is spread across various locations. Its purpose is to improve the delivery of website files to users based on their geographical location. In the past, the best web hosting for WordPress would serve all users from one central server location, regardless of the client locations.
However, some users may experience slower content delivery due to their location away from the center. To solve this problem, CDNs have set up multiple edge servers in different locations across the globe. These CDN servers store static content from your website's origin server and provide it to visitors when they access your WordPress website.
When a user makes a request, it will be handled by the CDN server closest to their location. If a person in the USA wants to access a website hosted in the UK, a CDN server in the USA will handle the request, not the main server in the UK. By using a CDN, all user requests are managed by the closest CDN servers, reducing the physical distance between visitors and your website's server.
Consequently, a CDN enhances your website's performance and speed for all users, no matter how far from the server. Additionally, a faster website improves the user experience and can give your website a slight boost in SEO rankings. Using a CDN also decreases the load on your primary server, protecting it from crashing during traffic spikes.
Everything You Should Know About Cloudflare CDN
Cloudflare is one of the best CDN providers available for free. The Cloudflare Content Delivery Network (CDN) consists of a string of servers. All of them are located all around the world. These servers automatically cache static content and deliver dynamic content rapidly to ensure an efficient user experience.
On top of that, Cloudflare functions as a cloud-based website firewall and distributed proxy server. It constantly monitors all incoming traffic, and suspicious activity is blocked before it reaches your server.
Cloudflare offers a basic plan that is free of charge and suitable for small business websites and blogs.
If you are a small business owner looking for a free CDN, Cloudflare is an excellent choice. However, if you want to take full advantage of all of Cloudflare's features, it is recommended that you opt for the business plan, which opts for premium.
In this tutorial, we will learn how to setup Cloudflare CDN in WordPress. You can use the quick links provided below to navigate through the different parts of the tutorial:
let's See How to Setup Cloudflare CDN On WordPress
Step 1. Create Cloudflare Account

Let's get started with the process of setup Cloudflare CDN account. First, head to the Cloudflare website and click the 'Sign Up' button. Afterwards, enter your email address and password to create your account. Once you've filled in the necessary information, click 'Sign up,' and you'll be redirected to a thank-you page confirming that your account was created successfully.
2. Add Website To Cloudflare

The next step for you to do is to add your WordPress website to Cloudflare. The way to do this is by clicking 'Add a website or application' and entering your website's domain name (e.g. example.com) in the 'Enter your site' field.
3. Choose A Plan

Afterwards, select the free Cloudflare plan and click 'Continue'. Then, review the DNS records to ensure that your primary domain has an orange cloud icon, which indicates that it is active on Cloudflare. You can change the status by clicking the 'Proxy status' toggle.
4. Point Websites To Cloudflare Nameservers
After verifying your DNS records, click 'Continue' and Cloudflare will prompt you to update your nameservers. If you have a domain registrar account like Domain.com, You can change the nameservers from there. If your free web hosting provider gave you a free domain like Bluehost, you'll need to change the nameservers by logging in to your hosting account.
How To Manage Your Nameservers?
Below, we'll show you how to change the nameservers from the Bluehost control panel.
Log in to your GoDaddy cPanel dashboard, go to the 'Domains' section, and select your domain name. Click the 'Name Servers' tab and then the 'Edit' button. Select 'Custom' and enter the nameservers provided by Cloudflare. Click 'Save' and go back to the Cloudflare setup page. Click 'Done, check nameservers' and Cloudflare will automatically check your new nameservers.
However, it may take a few minutes to update your domain nameservers. And setup Cloudflare CDN on your WordPress website. Once activated, you'll see a success message in your Cloudflare dashboard.
Conclusion
Cloudflare, a leading CDN provider, not only accelerates website performance but also offers additional security features, making it an excellent choice for website owners. In this comprehensive guide, we've walked you through the process of setup Cloudflare CDN on your WordPress site.
We began by creating a Cloudflare account and adding your website to the platform. We highlighted the importance of selecting the right plan and configuring your DNS records. Additionally, we explained how to point your website to Cloudflare's nameservers, ensuring that your site benefits from the CDN's optimization. VW Theme's Premium WordPress Themes are all compatible with the Cloudflare CDN.
With setup Cloudflare CDN in place, your WordPress site is now equipped to deliver content faster to users, regardless of their geographical location. It enhances the user experience, reduces bounce rates, and can even give your site a boost in search engine rankings. Furthermore, Cloudflare's security features protect your website from potential threats, ensuring both speed and safety.
In conclusion, Cloudflare CDN is a powerful tool for optimizing your WordPress website's performance and security. By following the steps outlined in this guide, you've taken a significant step towards enhancing your site's speed and ensuring robust protection against DDoS attacks and other security threats. Your website visitors will appreciate the improved performance, and you'll reap the benefits of a faster, more secure online presence.
Frequently Asked Questions
- Is Cloudflare CDN free?
Yes, Cloudflare's free plan offers basic website performance and security features, with the option to upgrade to higher-tier plans.
- Is Cloudflare CDN good?
Cloudflare offers a top-tier CDN that optimizes website latency for faster user-server connections.
- Why use Cloudflare CDN?
Having a fast website is crucial for visitor satisfaction, and Cloudflare can help achieve that. Slow load times can lead to higher bounce rates, shorter time spent on the site, and lower conversion rates, which is why site speed is essential. Cloudflare helps make websites run faster, resulting in a positive experience for visitors.
Blogs Categories
- AI Tools
- All
- Best Website Themes For WordPress
- Best WordPress Templates
- Best WordPress Themes 2020
- Blog
- Buy WordPress Themes
- Fansite WordPress Themes
- free wordpress templates
- Google Updates
- Hosting
- Hybrid WordPress Themes
- Marketing
- Mobile App
- Premium WP Theme
- Responsive WordPress Themes
- SEO
- Smoothie WordPress Theme
- Social Media
- Themes for WordPress
- Tutorials
- VW Updates
- Web Design
- Web Development
- Website Builder
- Website Security
- Website Templates For WordPress
- WordPress Errors
- WordPress Plugin
- wordpress plugins
- WordPress Premium Theme
- WordPress Sale
- WordPress Themes
- WordPress Website Themes
Podcast WordPress Theme (Audio Podcast 2.0)

Latest WordPress Themes


Buy All our Premium Themes just at $99
